Part 1 - Machine Setup
Intro
All the tools described in this section work on any computer and are 100% FREE, and not just for a trail!
Golang (Go) was chosen for this tutorial for its fast, light-weight, ability to serve up static pages. There are many more great reasons to use Go, but that is outside the scope of this tutorial series.
VSCode is a platform agnostic IDE (Integrated Development Environment), meaning it can run on your machine. Plus it has a lot of great plugins to make writing Go easier.
GitLab is just like GitHub that we will use to store our code in the cloud.
- It offers free, unlimited private code repositories (repos) and 2,000 minutes of CI/CD pipeline which will be discussed in detail in Part 5 - Deployment Automation. Feel free to use GitHub if you plan to skip Part 5.
In this part of the tutorial, the following sections will break down how install Golang (Go) and VSCode on any OS. However, examples are displayed for a Windows machine only currently. The last step in this tutorial will be to write a Go «Hello World» application.
Tutorial Steps Outlined:
- Machine Setup
- Install Go
- Install & Configure VSCode
- Setup GitLab Account
- Setup GitExt
- Create Application In VSCode
Install Go11
Go had a major re-write from version 10 to 11 and this tutorial series only pertains to version 11 using go modules.
Go to the Go Programming Language - Downloads page and choose the install appropriate for your computer.
IE: For Windows:
- Download
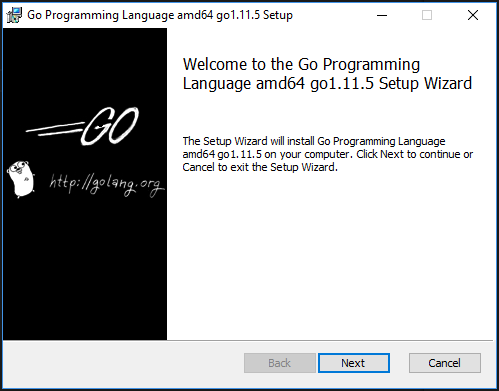
go1.11.5.windows-amd64.msi. - Run MSI and click «Next» to install:
- Add environment variable
GO111MODULE = onto use Go version 11. - IMPORTANT: Start a brand new terminal window! (This allows the latest env vars to be used.)
- Double check that go is properly configured with expected environment variables:
go env
- Double check that go is properly configured with expected environment variables:
Install & Configure VSCode
First, download the installer for your computer of VSCode.
Run the installer and take the defaults for everything clicking next until it is installed.
Configure VSCode For Go
Open VSCode and select ‘View’ from the main menu, then ‘Extensions’. Type ‘go’ in the top left search box to find the Go extension and install it. This is a bonding layer between the code editor and go command tools.
Close and re-open VSCode.
Go to ‘File’ → ‘New File’ to make sure and editor window is visible.
In the bottom right corner you should see “Plain text”… click and and then search to change to ‘Go’ as the language.
Then the text that used to say “Plain text” should change to “Analysis Tools Missing” .. click Install to download and install the missing tools from the Go extension:
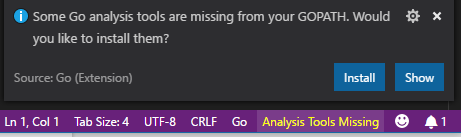
IE:
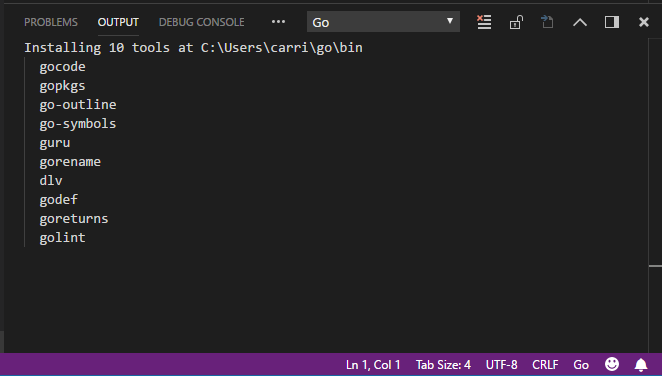
Once done, each tool listed should say “Succeeded”.
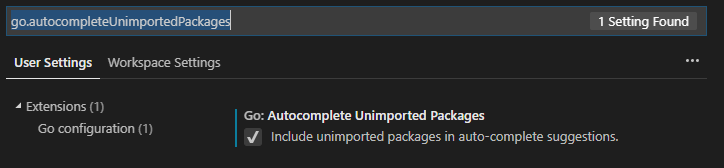
Setup Go Intellisense in VS Code
Open up “File” → “Preferences” → “Settings”
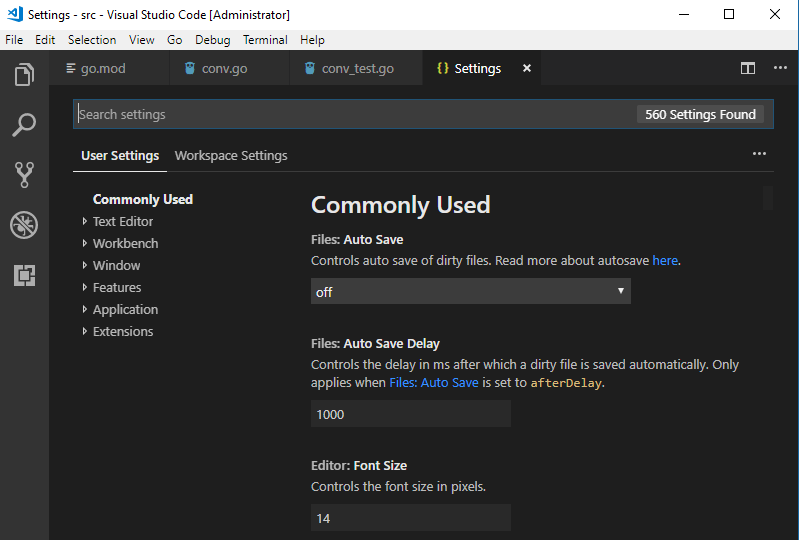
Search for: go.autocompleteUnimportedPackages - Check to include unimported…
Good details on all the VS Code settings for Go: https://code.visualstudio.com/docs/languages/go
Link here on all the Go tools that the Go extension depends on in VS Code
GitLab
GitLab enables code to be shared and collaborated on via source code management.
To create a GitLab account, go to the Sign-in / Register page.
If you already have a GitHub account like myself, click the «Register» tab and scroll to the bottom to use those credentials. Otherwise, fill out the form and click «Register».
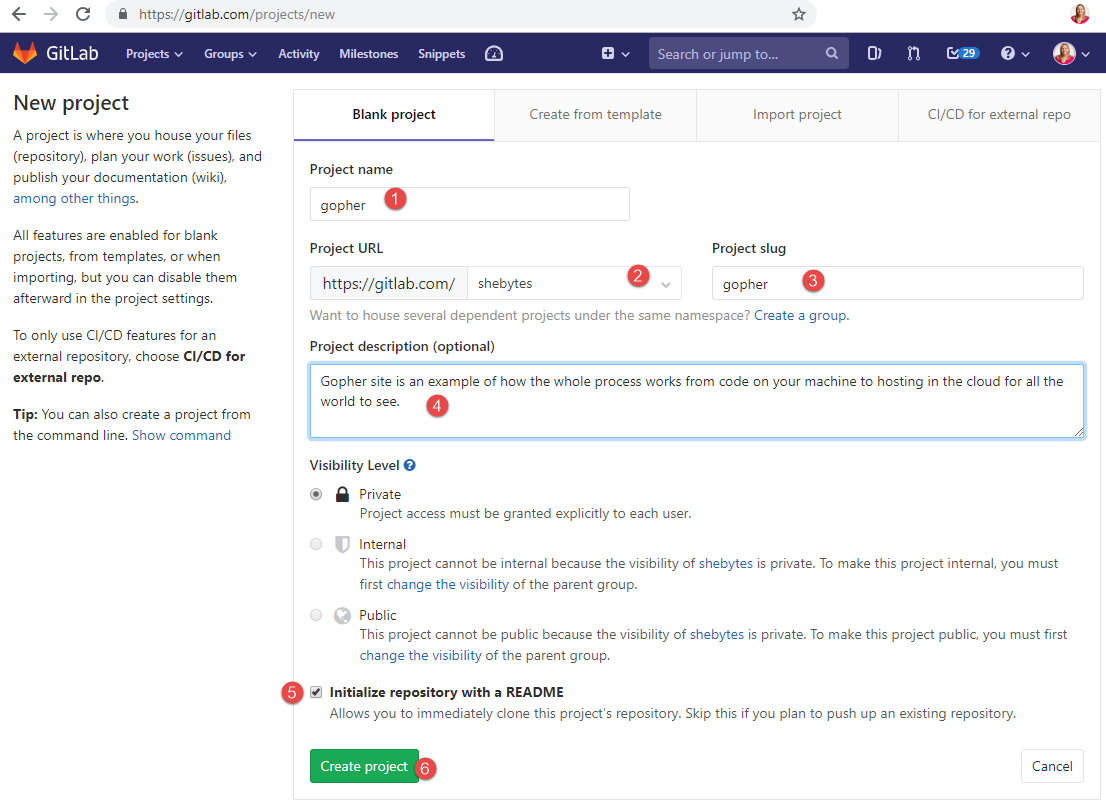
Once logged in, go to the main page and click «New Project»:

Next, follow the six steps to fill out the page, and click «New Project»:
Last, click «Clone» on the project page and then click the copy icon next to «Clone with HTTPS»:
- Note, if you are using SSH then clone that instead. While it is more secure, it is also more work to setup and those steps are omitted from this tutorial series.
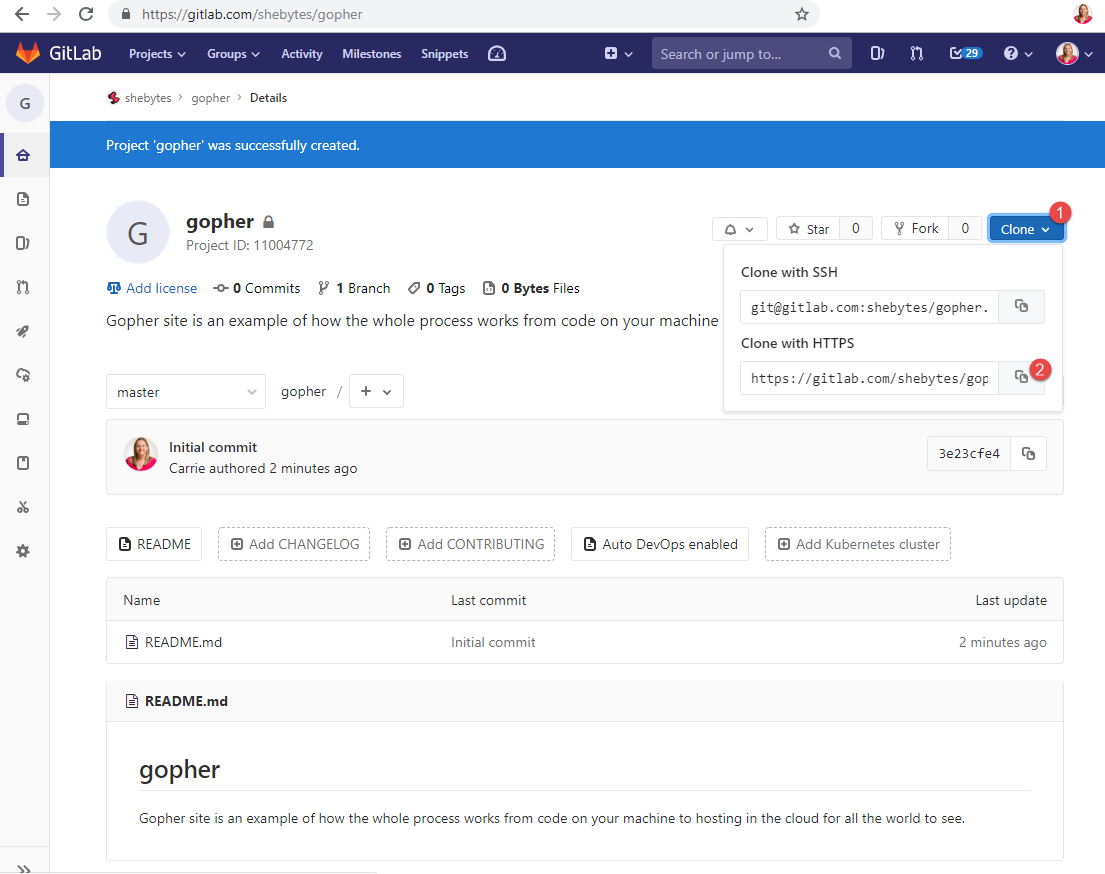
This will place the project link on your clipboard to use in the next section.
GitExt
Git is an industry-leading, open source, distributed version control system that GitLab leverages.
There are many ways to manage git, I personally like the GUI (Graphical User Interface) style and will explain how you can set GitExt.
Git Extensions is a toolkit aimed at making working with Git on Windows more intuitive. Git Extensions is also available on Linux and Mac OS X using Mono.
Click the downloads button in the link above to get to the latest version, currently v3.0.2. On windows, download the GitExtensions-3.0.2.5232.msi file and run that installer with all the defaults.
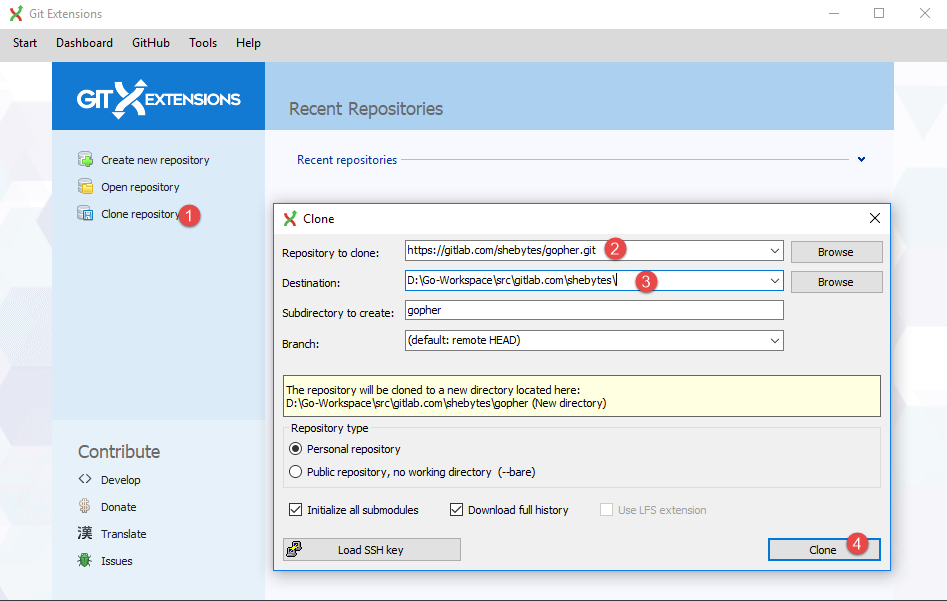
Clone Repository
Clone AKA pull down repo to your machine steps:
- Provide your GitLab credentials when prompted. Next time gitext will remember you.
- Step two below is the copied project link from the Gitlab section above.
- Step three below is where you want the code to live on your machine.
Commit and view check-in history going forward with GitExt:

Create Application In VSCode
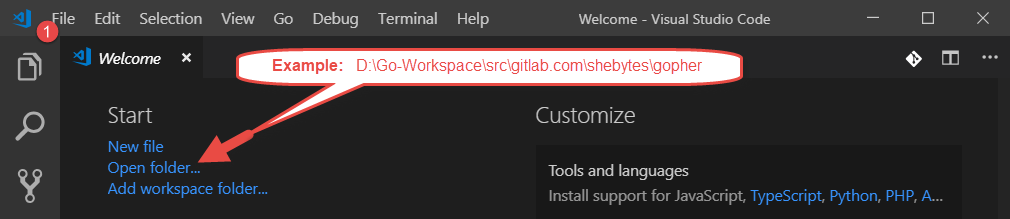
Open up VSCode, click on «Open folder…» from the Welcome page or by going to «File -> Open Folder…»:
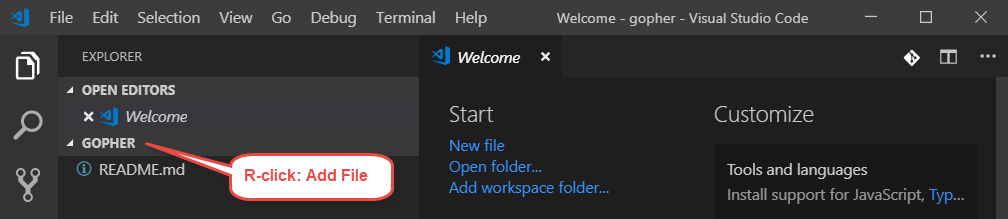
Add a main.go file inside gopher folder:
Paste in Go code:
package main

import "fmt"

func main() {
    fmt.Println("hello, world")
}
- In lower window, select the “Terminal” view.
- Keyboard shortcut:
Ctlr+jwill open or close the terminal window. - The terminal should default to the current
gopherdirectory. - If it did not,
cd C:\yourPathHere\gopherto get into the folder with code.
- Keyboard shortcut:
- Run
go run main.goto execute code. - Output shows hello world and it worked!
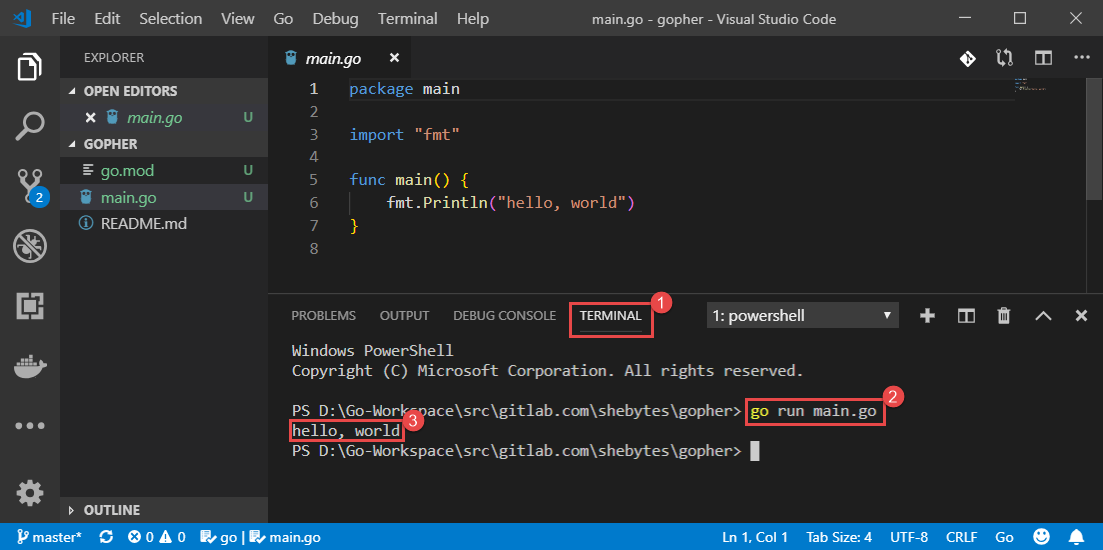
- The files are displayed in green text until the changes are committed to git.
- Because we are using Go 1.11, the go.mod file should have been auto-created for you, containing your path.
- IE:
module gitlab.com/shebytes/gopher
- IE:
Let’s check in the code changes!
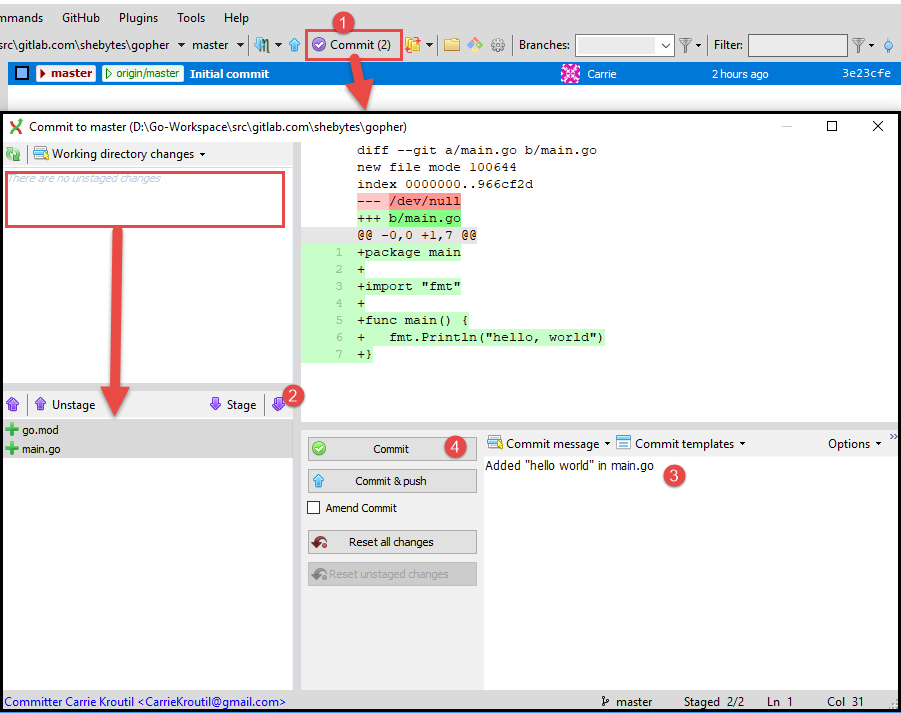
Open GitExt:
- Click the «Commit» button.
- Click the «Stage All» button to move both files from the un-staged to staged box.
- Add a commit message regarding the changes.
- Click «Commit and push» to move the code from your machine to the cloud.
- Click «Ok» twice through both dialogs.
- View the code history and the «Commit» button became green again meaning no changes left to commit.

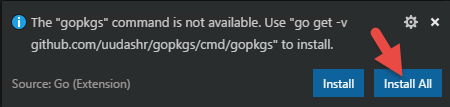
NOTE: If/when VSCode prompts, click «Install All»:
Next Step
Click the «Next» button below to proceed in this tutorial series to «Part 2 - Cloud Setup».